My husband has grown a glorious quarantine beard. He maintains it with oils and a special comb. He dutifully wears a mask when running errands, but every time he would come home, there it would be: a crease in his beard, from the mask he wears to love his neighbors. From conversations with other fuzzy-faced friends, it appeared this was a common problem. We decided something had to be done. Thus, the BroGuard was born.
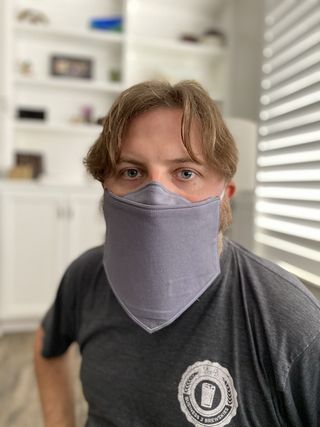
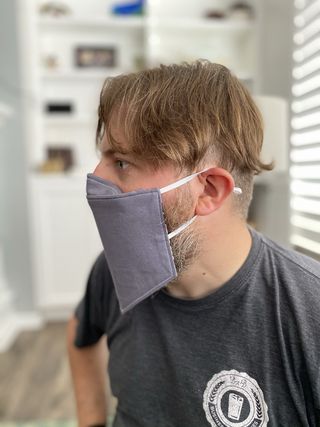

Here I am going to share with you the process that goes into making a BroGuard, in the hope of being of benefit to other bearded gentlemen who want to be considerate about wearing a mask, while also respecting their whiskers. DISCLAIMER: I am not a medical professional and I am not attempting to make any claims about the efficacy of this mask. I encourage everyone to comply with the mask requirements in their communities.
Supplies: BroGuard Pattern, enough pre-washed tightly woven cotton fabric to make two of each pattern piece (quilting cotton is especially good for this), 1/4" elastic for two ear loops (I used two lengths of 10.5" each, plus two [optional] silicone toggles), nonwoven fusible interfacing (I used this), wire for the nosepiece (I used 18-gauge coated copper wire; thick floral wire also works well), thread, pins, good sharp scissors, an iron, and a sewing machine.
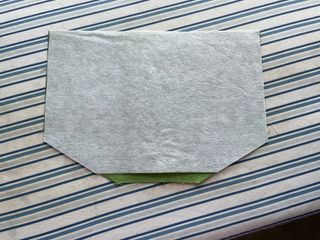
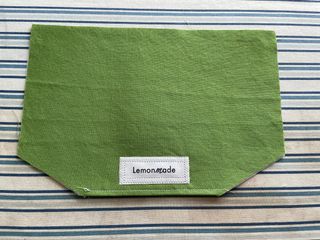
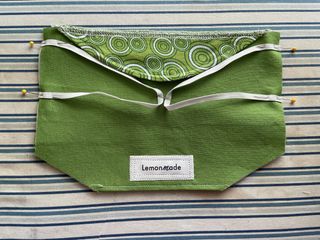
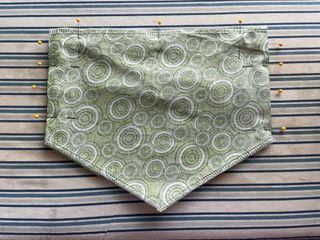
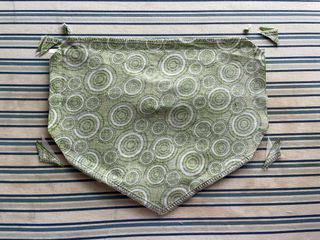
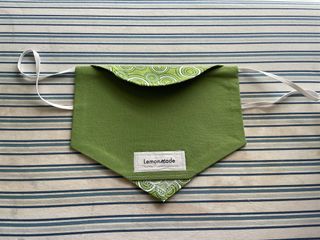
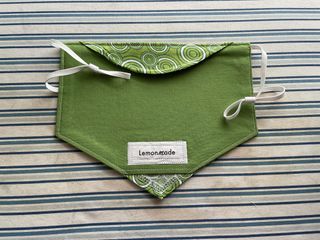
I like to use two different fabrics for the inside and outside of the mask to clearly delineate how it is to be worn. In the following pictures, the green pattern is the outside "main fabric" of the mask and the solid green is the "lining." When you have all your pieces cut out, they should look something like this:


I used a serger to finish the bottom edges of both the lining and the main fabric. This is optional, and if you don't have a serger, a zigzag stitch can provide a similar extra reinforcement to prevent unraveling. Please note the serged edges on the nose pieces and top of the main fabric are coincidental from when I pre-washed the fabric. They are absolutely not necessary.
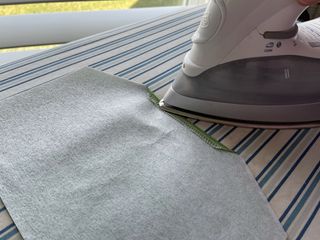
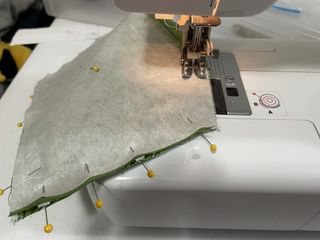
The first stitch you're going to want to make is turning up the bottom 1/4 inch of the lining for a scant hem that will also help hold the interfacing in place. The interfacing will be on the "wrong side" of the fabric. Be careful not to hit that interfacing with your iron if you're using two sided interfacing. (If you are using a single-sided fusible interfacing, you will want to go ahead and fuse that to your lining now. The fusible aspect of the interfacing helps prevent the wearer from "breathing in" or "eating" the lining fabric of the mask. If you are using a two sided fusible interfacing, you will want to wait to fuse until the very end - and you'll want to iron very carefully at this moment!)
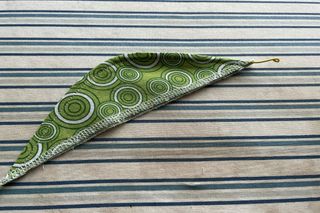
Setting aside the main body of the mask, you are going to fully construct the nosepiece before putting it all together. Place both nosepieces right side together. You are going to sew along the curved edge with a seam allowance of about 3/8". Before turning the nosepiece right side out, clip along this sewn edge about every 1/4", being careful not to cut the thread of your seam.
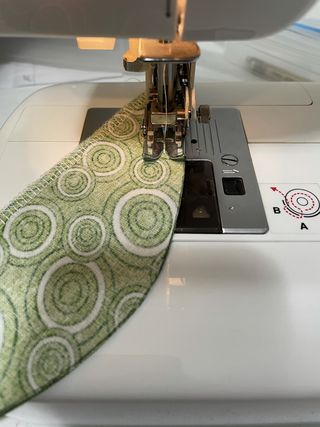
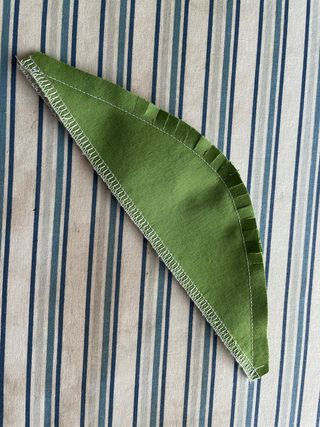
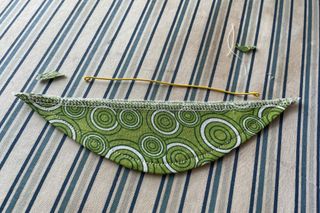
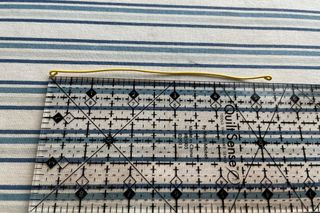
Turn and press the nosepiece, making sure the curve is fully pushed out to the seam (I like to use a knitting needle for this). Then top stitch along the curve about 1/4" from the edge. This will be the pocket for your metal nosepiece. Notice I bent back the points of my wire to make rounded ends and a total length of 5.5". I also went ahead and trimmed the bit of fabric at either end to create an even edge for the next step: pinning.
At this point, I like to baste the nosepiece onto the lining. This serves the dual purpose of being one less thing to pin when attaching the elastic, and it helps keep that interfacing from sliding around too much (if you're using a one-sided fusible interfacing, this is a nonissue for you). Baste with about 1/4" seam allowance, making sure the nosepiece is centered at the top of the lining fabric, with lining fabrics together.
Next, you're going to pin in place your elastic. You'll want to allow for 1/2" seam allowance, so pin one end of each elastic piece about 5/8" from the top edge. We found a spacing of 1 7/8" between elastic ends to fit comfortably on my husband's ears. If you're unsure, check the spacing on another comfortable mask and attach this elastic accordingly. You can baste the elastic in place or pin it. I also found a pin to hold the loops in the center of the mask to be helpful in keeping the elastic from straying into a seam while I sew.
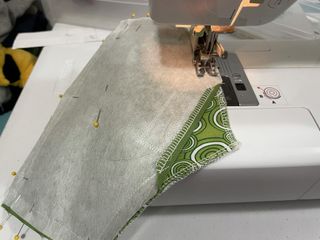
Go ahead and pin the main fabric to the lining, right sides together. You're going to sew both pieces together with 1/2" seam allowance. Start at the bottom of the lining so you can make one continuous stitch around the entire perimeter of the mask to the other end of the lining bottom. You'll want to leave that finished lining bottom edge open for turning.
You're ready now to remove all your pins, trim all four corners, and turn the entire mask right side out. When trimming the top corners, be careful not to also trim the elastic. I like that the elastic gets a little extra attachment in the final top-stitching, but that's lost if it's trimmed too short. Once the corners are trimmed, turn the mask and press, being sure to follow the instructions on your fusible interfacing for a proper attachment. Be careful to press the bottom edge of the mask's main fabric into a 1/2" hem. Press the nosepiece toward the lining side of the mask.
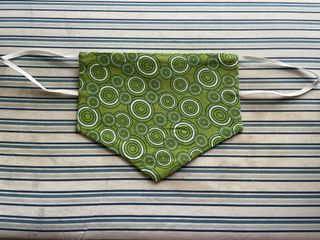
Now, top stitch 1/4" from the edge around the mask. I think the neatest look is achieved by starting and ending at the bottom point, but do what you like best. This top stitch will help the mask retain its shape, provide a little extra reinforcement for the elastic's attachment, and give the nosepiece some additional shaping. Finally, follow the manufacturer's instructions for attaching your silicone toggles, if you chose to use them.
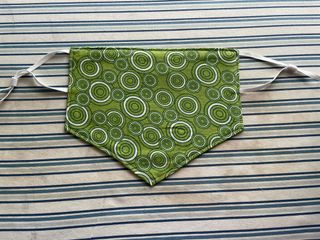
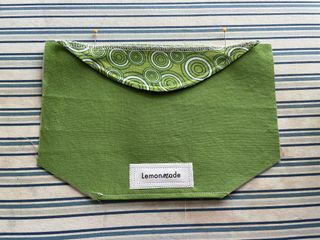
That's it! You've made a BroGuard!
If you use this tutorial or have any questions, please let me know in the comments or through the email link at the top of the page. Thanks so much for stopping by!